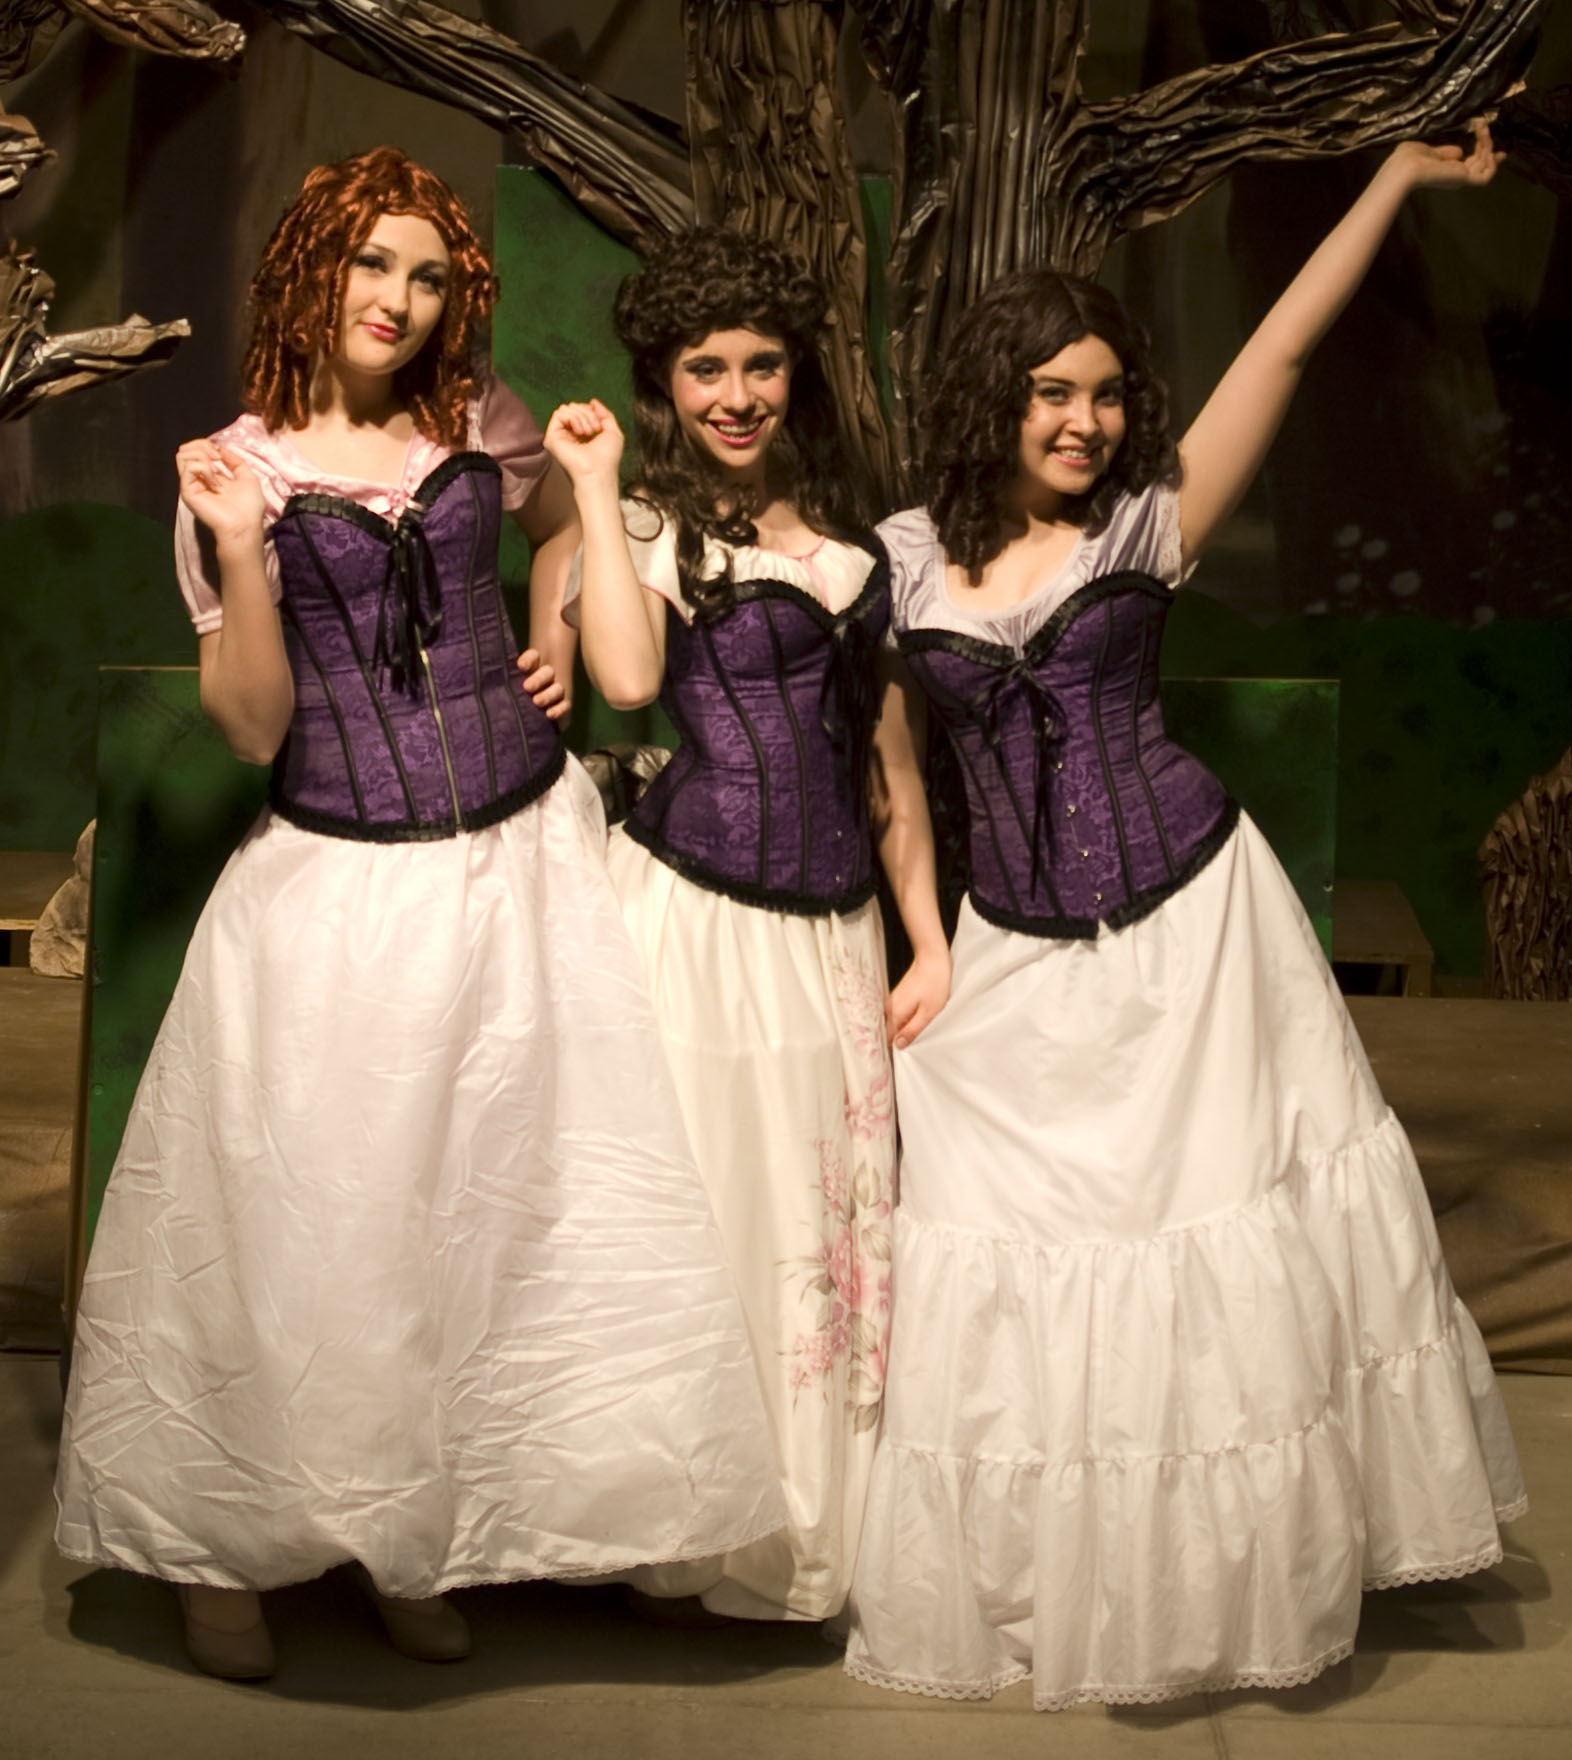
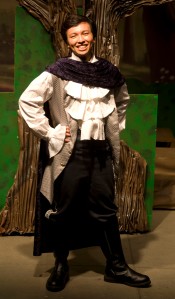
Step Sisters and Mother in their Dressing Gowns and Corsets
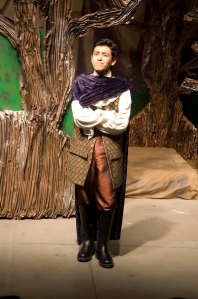
Rapunzel’s Prince
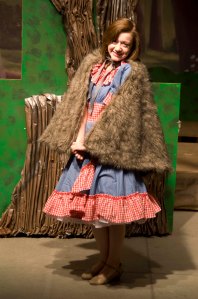
Little Red Riding Hood in Wolf Cape
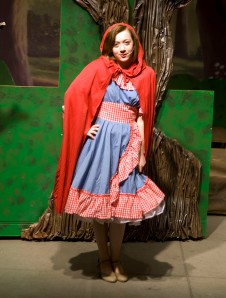
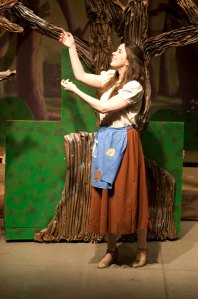
Little Red Riding Hood
Cinderella’s Prince
Cinderella
Step Sisters and Mother in their Dressing Gowns and Corsets
Rapunzel’s Prince
Little Red Riding Hood in Wolf Cape
Little Red Riding Hood
Cinderella’s Prince
Cinderella
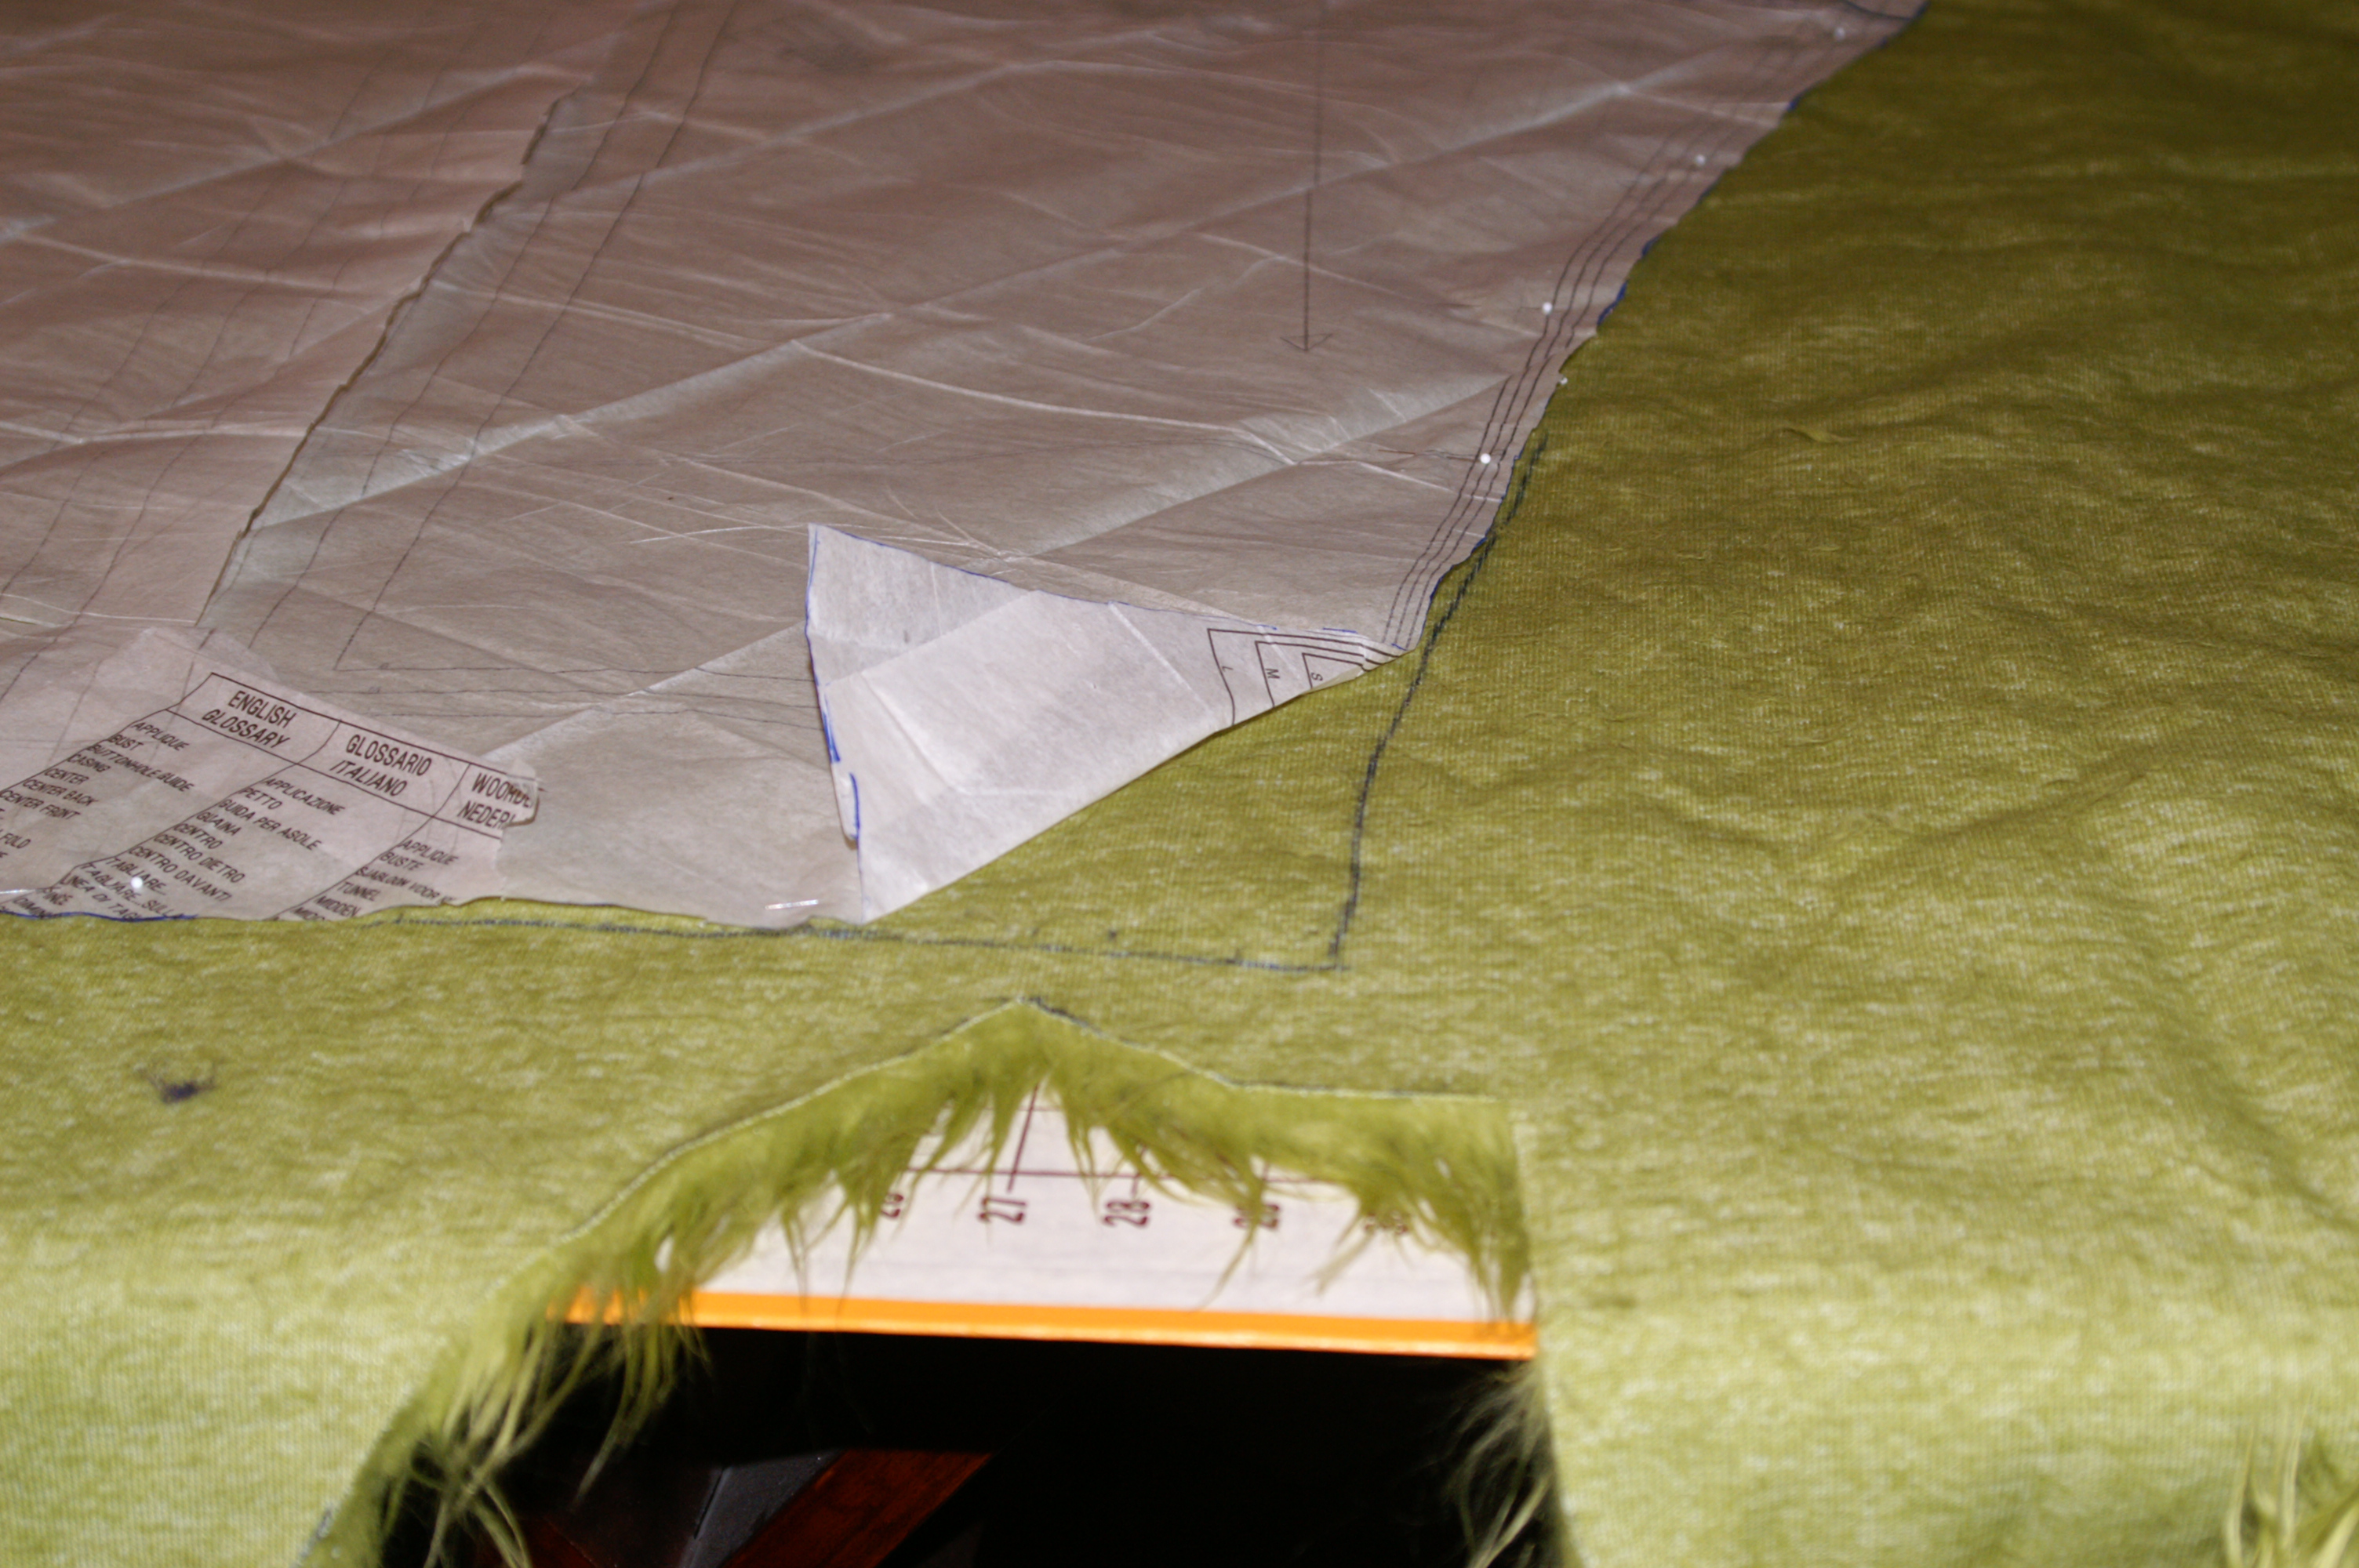
Sorry for the lack of posts, I’m busy busy busy with costumes for Into the Woods.
After the Grinch, I made a Senatorial Roman Toga and a custom table costume (aka table cloth) all before Christmas. Immediately after Christmas, I started Into the Woods.
I have many pictures and will upload some soon.
Relatively easy instructions for working with decorative rope to make napkin rings.
Materials needed:
54″ of rope (for 8, calculate 6.5″ of rope per ring and add a couple of inches)
8 medallions, beads or buttons (one per ring)
Hot glue gun
Needle
Heavy thread
Scissors
When no finishing is added to the end of the rope it unravels quickly.

Typically when a length of rope is cut in the store, tape is applied to the cutting line and then it is cut through the middle of the tape, leaving both ends bound in tape.

For this project, a quick stitch binding is applied to the rope so it doesn’t fray. For best results, use a heavy top stitch or upholstery thread. Thread needle and knot end. Insert the needle through the center of the rope (as shown).

Bring thread over the top of the rope and go through the center of the rope again. Bring thread under rope this time and go through center. Next, wrap thread around rope three time pulling it tight. Make sure loops stay on top of existing stitches. Bring thread through center of rope one more time and tie off.

For the napkin rings, 6.5″ sections off rope are used. Finish end as described. Measure length needed and apply wrapped finish just before the cut line. Apply second wrapped finish just after cut line.

Cut rope between finished sections.

Glue ends together.

Put glue on the back of medallion or button and press joined portion of the rope to the back.

When glue cools, check to make sure medallion is secure.
That’s it, repeat for each ring.


I love it when my clients send me pictures of their costume in action. These are the two Lily Munster costumes I made this year.
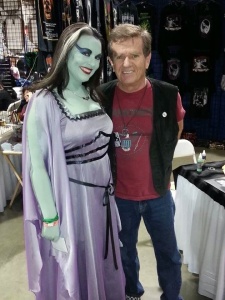
This is my client with Butch Patrick (Eddie Munster) in the costume I made for her.

Lily Munster Costume by Cotton Costumes.
I’m in the middle of a full body Grinch costume. I was a little leery about working with 3″ long faux fur, but find that I like it a lot better than shorter piles, and it sheds less (I think).
To cut fur, the best practice is to cut each piece separately (as opposed to cutting right and left side with the fabric right sides together), with a razor, on the wrong side of the fur. Make sure to cut each piece right side up and up side down. To make this easier, I quickly trace the pattern onto the fur with a permanent marker. (Make sure it doesn’t bleed through to the right side!) Also, when cutting with the razor, just cut deep enough to cut the fur backing and not the fur.
To get it ready to sew, instead of following the pattern directions to clip the fur short in the seam allowances, I combed the fur back from the seam allowances. That produced two benefits, I didn’t have to “pick” the fur along the seam lines to disguise the seams and the fur isn’t shedding inside the costume along the seams. It basically finishes my seams for me because it won’t shed inside, the fur is pulled to the outside.
I have a quick fitting before I insert the zipper and finish the body. I also have to do shoe covers, gloves, collar and hood.
This costume will be one that I offer in my Etsy store in 2014.
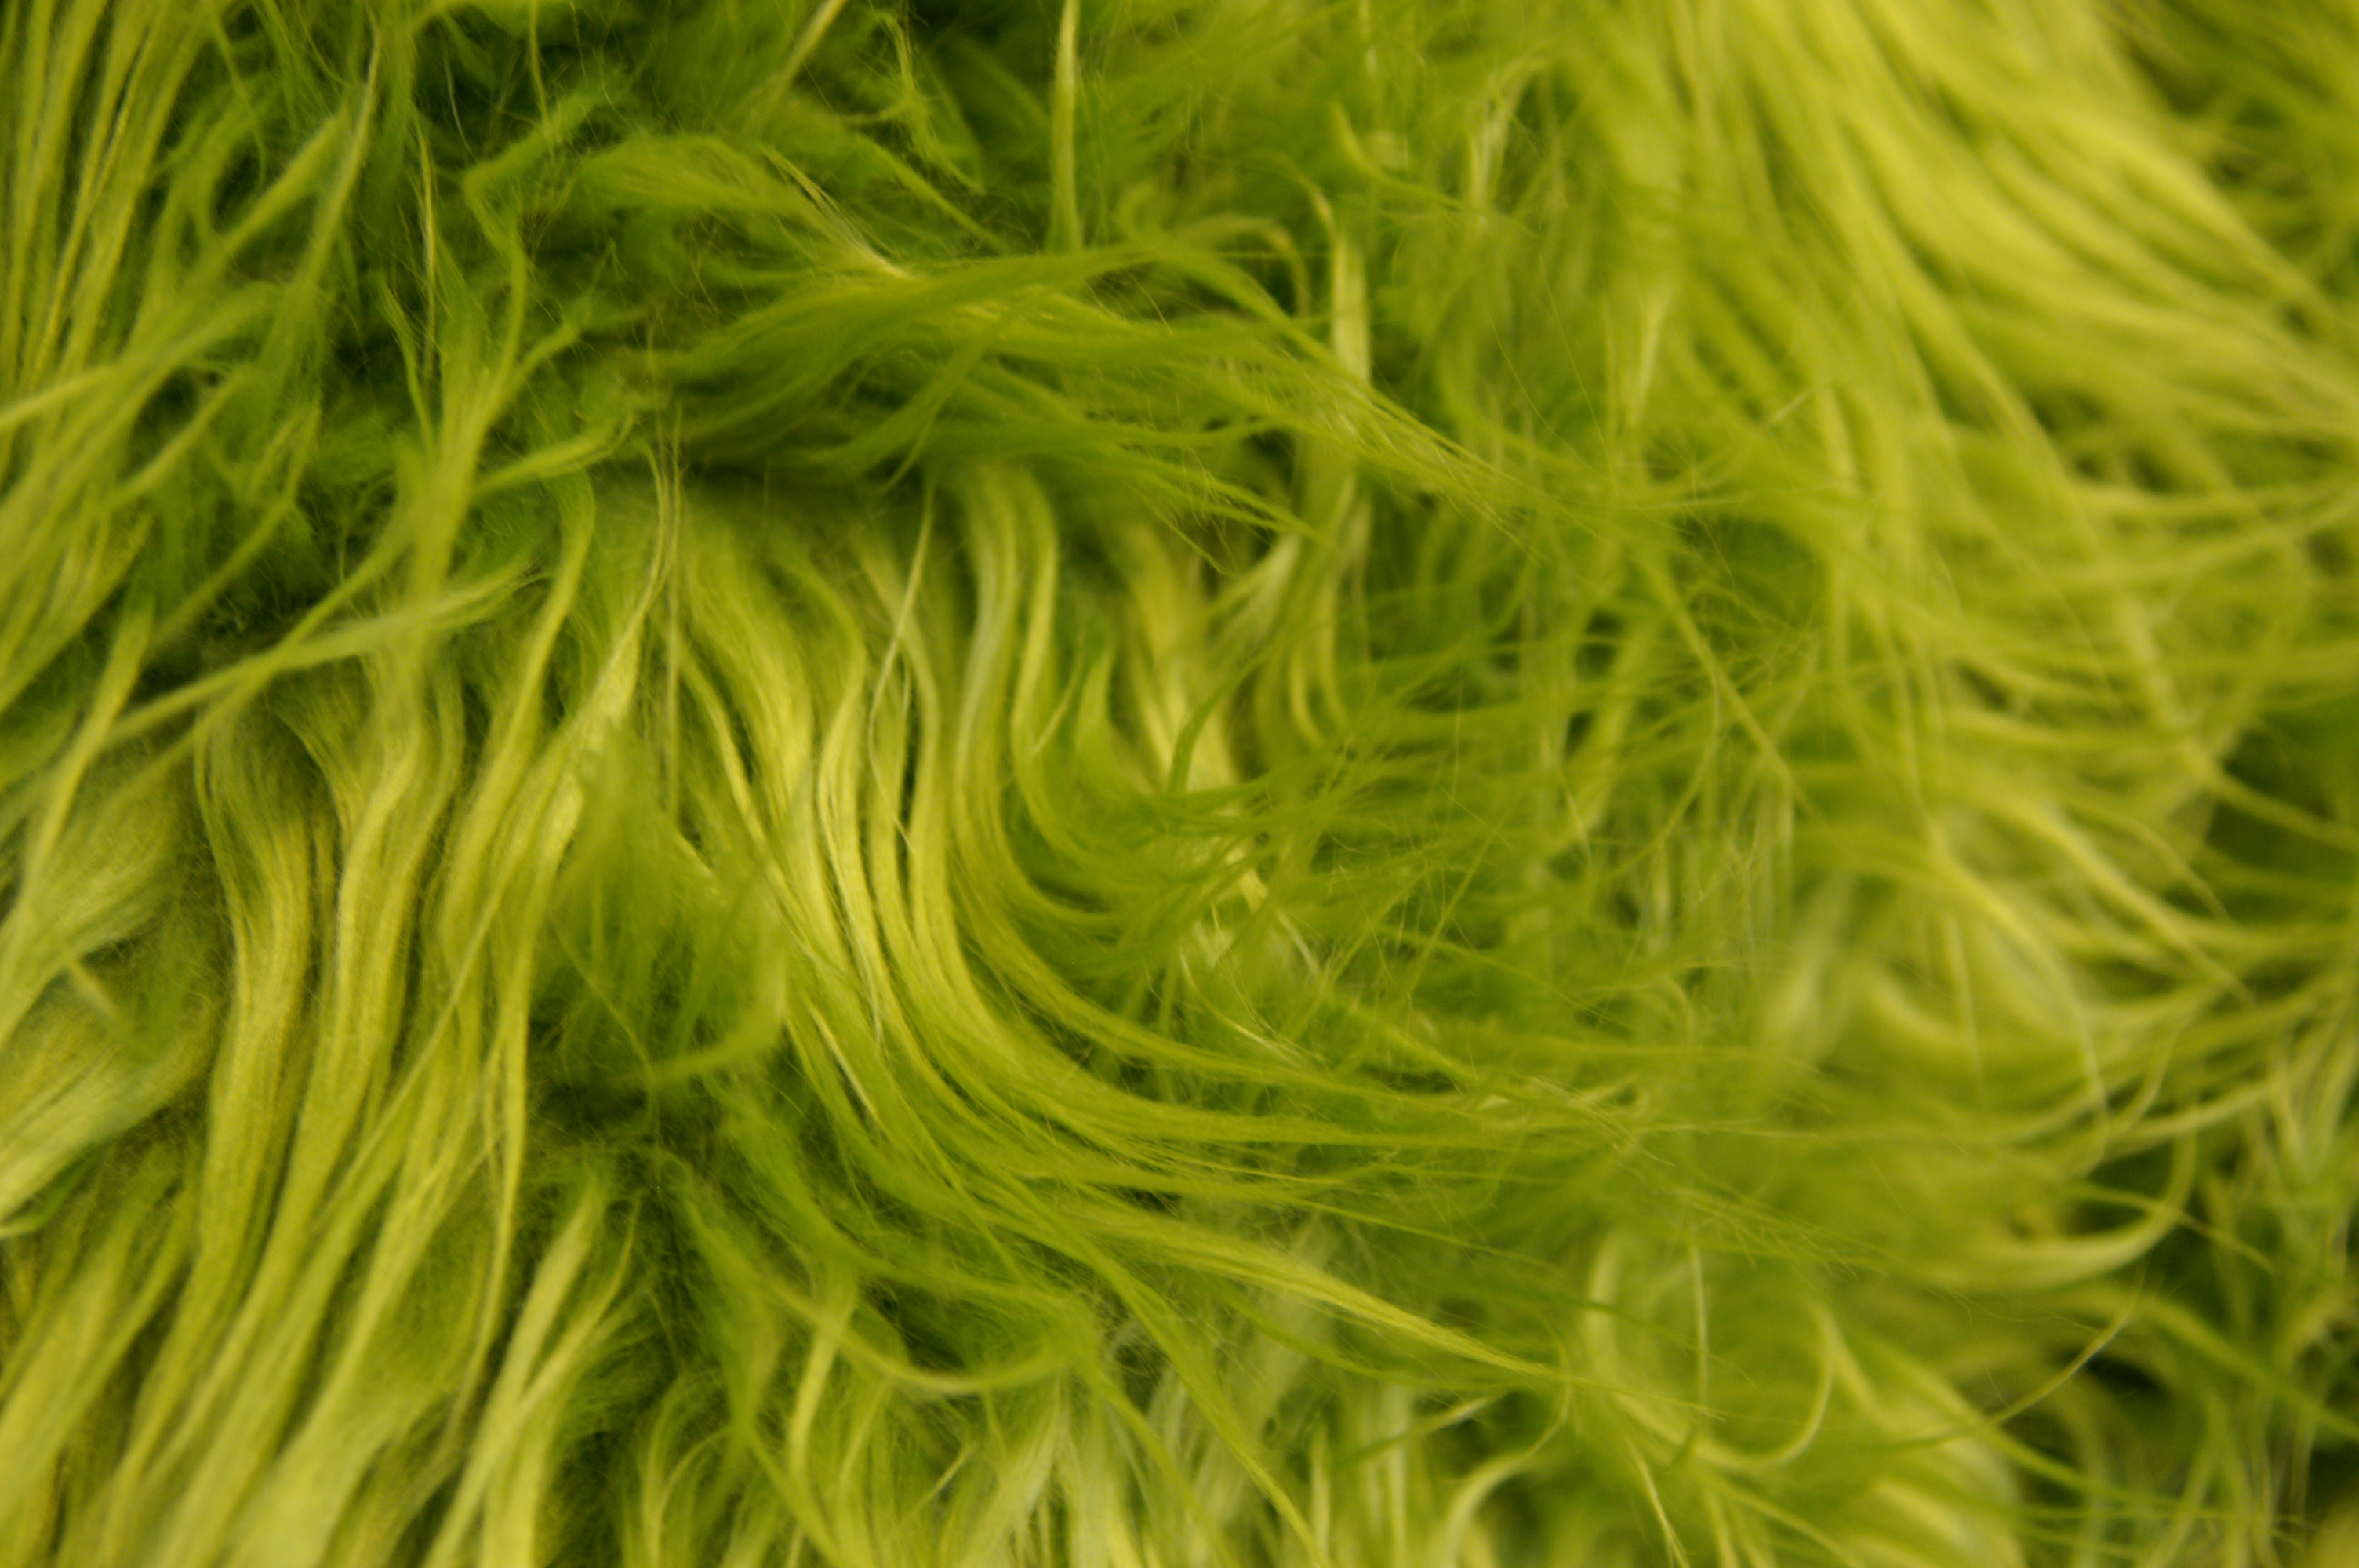
Grinch Fur with 3″ pile.
Marking the Pattern

Cutting the Fur

Preparing Edges for Sewing

Body of Grinch Costume

Belle’s Ballgown shown over a 6 bone “antebellum” style hoop.

Belle’s Ballgown shown over a very full hoopless crinoline.

Belle’s Ballgown shown over a narrow crinoline.

Belle’s Ballgown Detail

Belle’s Ballgown Detail

Belle’s Library Gown

Belle’s Everyday Blue Dress
Belle’s Gold Ballgown will be available for purchase as a custom order in March 2014 in my Etsy Store. One of the pictures, above, shows a double puffed sleeve, but the custom order is for a single puff sleeve. The dress will be available in Gold, as shown, Ivory/White with crystal trim and small sweep or train, and Classic Yellow.
These costumes were made for a local theatre production and are living a second time in another production of Beauty and the Beast.
Many small business are following the developments of CPSIA (Consumer Product Safety Improvement Act), the rules for safe children’s products that were developed after the lead scare a couple of years ago. Unfortunately, the way the rules read makes it harder (if not impossible) for small businesses to comply.
Generally, anyone who makes a children’s product for use by a child 12 and under, must comply with the rules of CPSIA. This includes toys, clothes, jewelry and furniture. (for a complete list please visit http://www.cpsc.gov/about/cpsia/cpsia.html)
For the convenience of readers, also linked are the guidelines for small businesses. http://www.cpsc.gov/about/cpsia/smbus/manufacturers.html#q4
There are exemptions, or materials that may be used without necessitating testing for lead. These include:
The complete list is found in Table B of the CPSIA small business guidelines page.
In related news, Mattel, the company that was a large part of the CPSIA frenzy is exempt from the MANDATED third party testing of their products. They are permitted to test their products in house. In theory it was Mattel’s own labs that missed the lead content of their toys before the recalls, so it seems strange that the CPSIA would allow them to continue to test in house or even approve the exemption. http://news.yahoo.com/s/ap/20100423/ap_on_go_ot/us_toy_testing_mattel. There is no publically available information about this agreement on the CPSIA or CPSC websites.
Matching plaid isn’t difficult, but is time consuming.
Each piece needs to be cut separately.
First, determine how often the pattern repeats. Some plaid, like the purple plaid, actually had two different horizontal and vertical prints, so the pattern repeat was nearly 12″ both along the width and length. The pink plaid, pictured below repeated every 4″.

Plaid
For multiple cuts of the same piece, cut the first piece, leave the pattern piece pinned to the fabric flip and match up the pattern before cutting the next. For fabrics with an obvious right and wrong side this is important to flip to ensure pieces are cut for both right and left sides.

Matching Plaid
Pattern notches are the best way to line up the plaid so they’ll match when sewn together. Find a particular line in the pattern to line up with the pattern notches. It is important that this line not be on a curved or eased seam.
To match the pattern for the sleeves, match the print at the bottom of the arm and the start of the sleeve. Also, match the pattern notches on either side of the sleeve to ensure the plaid will line up at the sleeve seam line, but also across the jacket.
")
Purple Plaid Jacket (front view)
When pinning the pieces together for sewing, check to make sure the lines are lining up as you go. Sometimes the material can stretch or slip when pinning or sewing.
It is difficult to match the plaid on curved or eased seams, the more curved or eased the less it will match.


